A spot of tea

This will be all about muffins and tea. If you don’t like muffins or tea, it’s okay if you want to read this instead. Or this.

img_7570All right, all you muffin and tea lovers, let’s get started. This winter I had the pleasure of writing an article about herbal tea for Edible Madison magazine. I grew up with a Scottish grandmother who drank tea every night after dinner, so I have fond memories of family dinners when the tea pot and china cups would come clinking out of the kitchen, someone would pour me a cup of black tea and I would fill it the rest of the way with milk. But when I received the Edible Madison assignment, I didn’t know much about the subject of tea, so this article was a hoot to research and write. I also got to hang out with some interesting tea people at some delightful places like Anthony at Macha on East Johnson St.

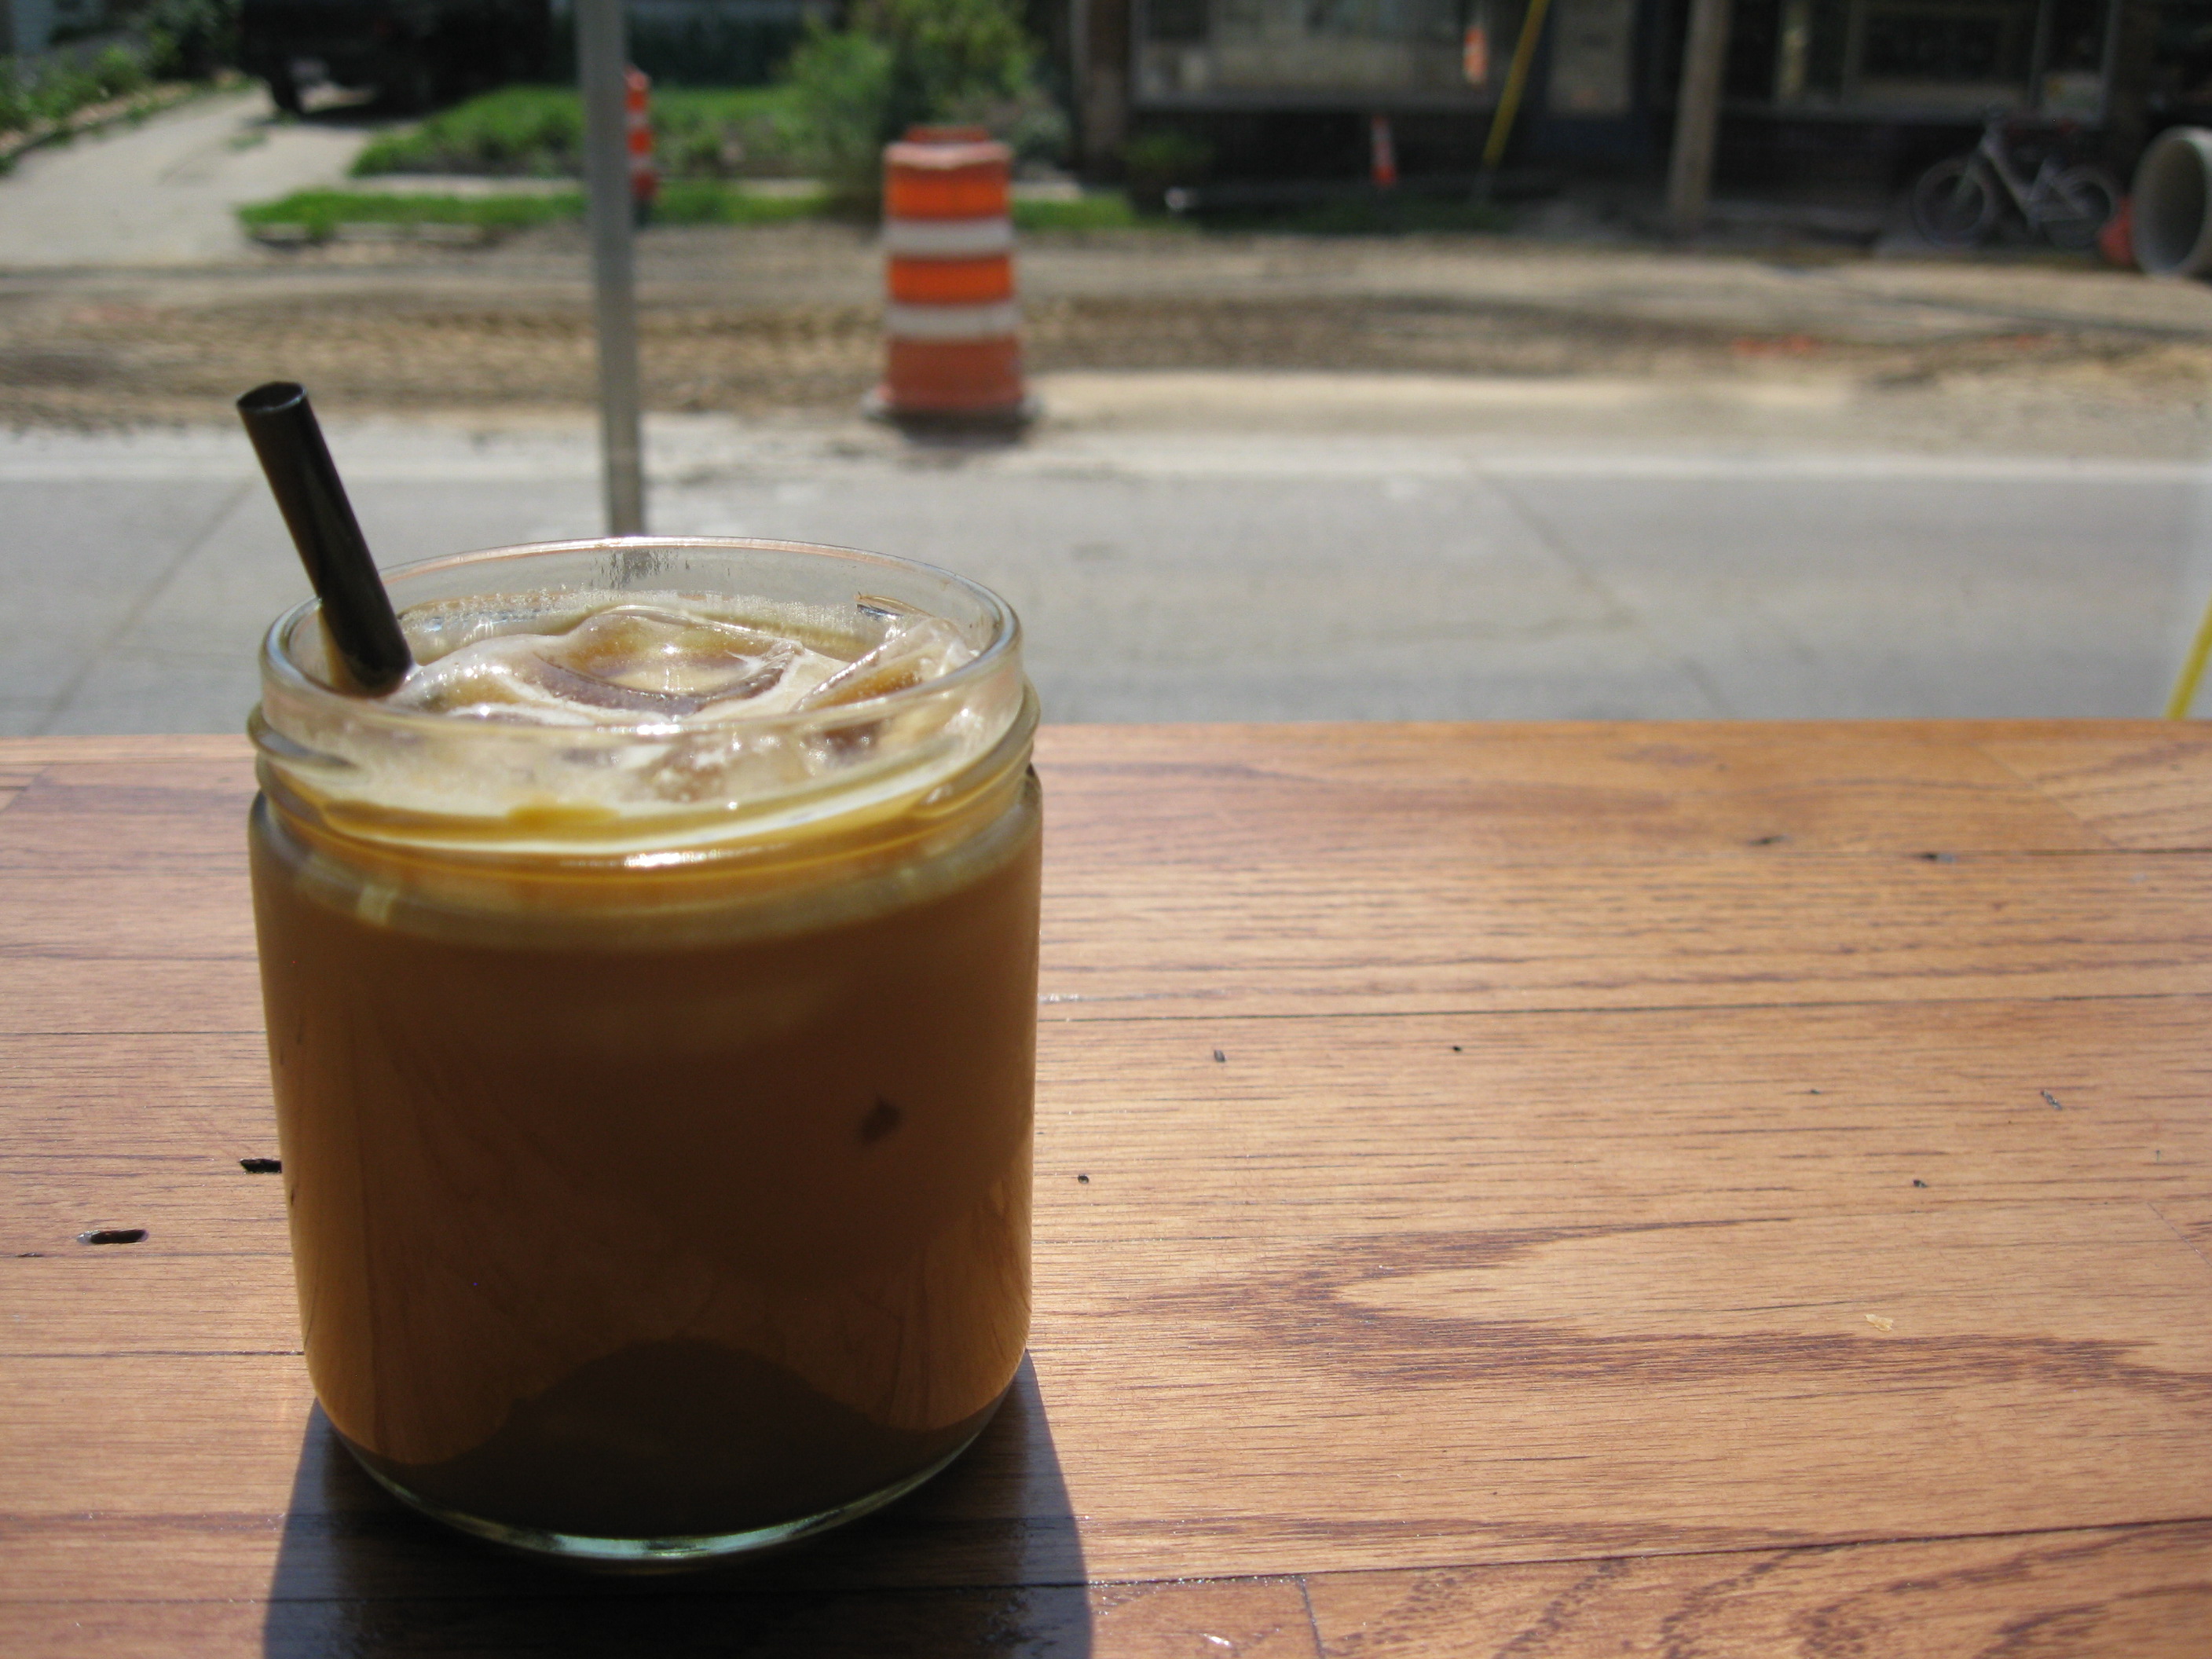
Fast forward to a few weeks ago, when I received a message from a farmer named Tony who was wondering if I would be interesting in sampling his “living” herbal teas that he grows on a farm in Mondovi, Wis. I have a soft spot in my heart for farmers, and a new appreciation for tea, so I of course said yes. A few days later I received some Sacred Blossom tea in the mail.

I love these teas, mostly because they are so beautiful when they are steeping (and they taste really delicious, too.) But also because it’s obvious that these herbs were grown with a lot of love and care. Please check out Tony’s website and his kickstarter campaign to support a Wisconsin farmer who is doing something really special in the world of teas.

And while that tea steeps, start making some muffins! My parents found the recipe for these Morning Glory muffins in the New York Times. I made them last weekend and baked another batch yesterday. I am in love with them. They are a little finicky (you need to shred carrots and apples, toast walnuts, melt coconut oil, etc.) but I think it’s fun and they turn out really well. I consider myself to be a lousy baker, but I’ve been having luck lately with muffins. I will post the recipe as appears, not as I did it, because if you followed my directions it would be something like this: Measure flour, (don’t) measure cinnamon, spend nine minutes looking for baking powder, realize half-moon is sitting on the television, read Reggie Jackson, read Reggie Jackson, read Reggie Jackson, read the Bunny Book, read Reggie Jackson, read Reggie Jackson, realize you were supposed to use the large mixing bowl for the wet ingredients, measure the baking soda, read Reggie Jackson, abandon muffins completely and run out the door to meet a friend for happy hour when your significant other gets home from work, remember the next day after yoga that you started making muffins, locate (wrong-sized) bowl of dry ingredients, locate left-for-dead carrots in veggie drawer, make a cup of tea, finish mixing batter, bake muffins, eat most of the (still warm) muffins while standing at the kitchen counter.

img_7646

But here’s how the newspaper said to make them:

_______________

Morning Glory Muffins

From the New York Times

INGREDIENTS
1 cup/120 grams all-purpose flour
¾ cup/85 grams whole-wheat flour
1 ½ teaspoons ground cinnamon
1 teaspoon baking powder
½ teaspoon baking soda
½ teaspoon kosher salt
¾ cup/177 milliliters whole milk
¾ cup/160 grams packed dark brown sugar
2 large eggs
¾ cup/90 grams shredded carrot (from 2 medium carrots)
½ cup/77 grams shredded apple (from 1 medium apple)
½ cup/57 grams unsweetened shredded coconut, toasted
¾ cup/90 grams finely chopped walnuts, toasted
¾ cup/112 grams raisins
½ cup/118 milliliters melted coconut oil

PREPARATION
Heat oven to 350 degrees. Line a 12-cup standard muffin tin with paper liners.
In a medium bowl, whisk together all-purpose flour, whole-wheat flour, cinnamon, baking powder, baking soda and salt. In a large bowl, whisk together milk, dark brown sugar and eggs until smooth. Stir carrot, apple, coconut, 1/2 cup of the walnuts and 1/2 cup of the raisins into the wet mixture. Stir in the melted coconut oil.
With a large rubber spatula, fold the dry ingredients into the wet ingredients until just combined. Do not overmix. Divide the batter evenly among the prepared cups. Sprinkle the remaining walnuts and raisins evenly over the tops of the muffins.
Bake until puffed and set and a toothpick inserted into the center of a muffin comes out clean, about 20 minutes. Transfer the muffins, in the tin, to a rack to cool for 5 minutes. Then remove the muffins from the tin and let cool completely on the rack. Once cool, store in an airtight container at room temperature for up to 3 days.

_______________________________

And while it feels like spring out there today, I am hoping for more winter days with a steeping cup of hot tea and a batch of muffins in the oven. Happy Saturday.

A misplaced effort

There are times when a food blog seems like the most trivial thing in the universe. Now, for me, is one of those times. Tucked into my tiny, warm space drinking kombucha and listening to Dire Straits while the baby naps, I feel grateful but helpless. It feels as though much of the world is crumbling. And writing about food seems like misplaced effort.

But then… I’ve been reading Sarah’s blog for several years now, and I found her last post particularly eloquent. Here is an excerpt:

When bad things happen, there’s a bizarre insistence from other conscientious folks that we stop talking about flip things like what’s for dinner, but the fact is that we all still eat, and that the bad things are there, every single day. Similarly, the work never, ever ends. Timeliness of our response is important. Consistency, though, and settling in for the long haul, is paramount. We have to be able to, every single day, keep our brains and hearts open enough to fight injustice where you see it and drive yourself to work and take care of your babies or your health or your girlfriend and sometimes to eat dinner. These things are not of equal importance. But there they are, all contained in the span of the same 24 hours.

Read more: http://casayellow.com/2016/12/06/what-to-eat-when-things-arent-going-so-well/#ixzz4Sq5zgdQ7

Reading her whole post made me realize it’s okay to keep talking about and preparing food, but that staying aware and taking some sort of charitable or political action on a regular basis is important, too. My inclination the last couple of years has been to shy away from the news as much as possible- I turned off NPR four years ago this month and still haven’t been back- but I don’t think that ignorance is the answer now.

So I can tell you that I donated to this organization this morning and also that I made some really delicious sweet potato muffins a couple of days ago. I called Paul Ryan’s office a few weeks ago (202-225-3031) and voiced my opinion on the Affordable Care Act. And then I made lentil soup. I plan on participating in the Women’s March on Madison on January 21 and I intend to keep making the Moosewood Cookbook lentil soup at least weekly. This fall we adopted an “unadoptable” cat from Friends of Ferals with frost-bitten ears and only half his teeth and I will keep sneaking him a couple of bites of Half-moon’s scrambled eggs. And I’ll keep reading my favorite food blogs and I’ll continue sharing nourishing recipes and stories here, but I’ll also keep thinking of more ways to give. More things I can do. But right now I have to feed a muffin to a baby, and maybe a little to a cat.

img_6056

The sweet potato muffin recipe comes from one of my favorite blogs, Dishing up the Dirt. I will post the recipe the way it was published, but I will tell you that I used whole milk instead of almond milk, I omitted the cloves (didn’t have them), I made nine muffins instead of twelve, I oiled the muffin tin (no muffin wrappers in the house) and I never made the frosting because we ate them all before I got the chance. But they were delicious all the same.

___________________________________________________

Spiced Sweet Potato Molasses Muffins

From Dishing up the Dirt
PREP TIME: 15 MINUTES COOK TIME: 40 MINUTES SERVES: 12 MUFFINS

1 large sweet potato, peeled and cut into 1- inch cubes
2 cups whole wheat pastry flour
1 teaspoon baking soda
1 1/2 teaspoons ground cinnamon
1/2 teaspoon freshly grated nutmeg
1/4 teaspoon ground cloves
1/8 teaspoon ground allspice
1/2 teaspoon kosher salt
1/2 cup almond milk
2 teaspoons apple cider vinegar
2 eggs
2 tablespoons freshly grated ginger
1/2 cup pure maple syrup
1/2 cup blackstrap molasses
1/4 cup walnut oil (or another neatural tasting light oil)
2 teaspoons vanilla extract
Maple-Cashew Frosting
1 cup raw cashews, soaked in warm water for 30 minutes
2 tablespoons coconut oil, melted
1/4 cup maple syrup
1 teaspoon vanilla extract
1/8 teaspoon fine sea salt
1/4 cup almond milk

Preparation
Preheat the oven to 375F. Line a standard muffin tin with paper liners and set aside.
In a large saucepan cover the sliced potatoes to cover them by at least 1 inch of water. Bring to a boil. Reduce heat and simmer until the potatoes are fork tender, about 15 minutes. Drain the potatoes and place them in a food processor and process until completely smooth and creamy. Measure out 1 cup of puree and set it aside (save any leftover puree for another use).
In a large bowl stir together the flour, baking soda, spices and salt. Set aside.
In a smaller bowl vigorously whisk together the almond milk and apple cider vinegar and let the mixture rest for 5 minutes (this will create a dairy free buttermilk). Whisk in the eggs, freshly grated ginger, maple syrup, molasses, oil, vanilla extract and sweet potato puree. Mix until everything is well combined. Pour the wet ingredients into the bowl of the dry ingredients and stir until just incorporated. Spoon the mixture into the prepared muffin tin and bake in the oven until a toothpick comes out clean when inserted in the center of a muffin, about 20-22 minutes.
While the muffins bake prepare the frosting. Drain the soaked cashews and place them in the bowl of a food processor with the remainder of the ingredients and process until completely smooth and creamy, scraping down the sides of the processor as needed. Taste for seasonings and adjust as needed.
Let the muffins cool in the pan for 10 minutes before gently removing them to a wire rack to completely cool before adding the cashew cream.

*Store any leftover cashew cream in an airtight container in the fridge for 5 day *Keep muffins at room temperature covered for 3 days.

__________________________________________________

Please share any organizations you support or ideas that you have for staying connected and helping the world crumble a little less. Wishing you peace this holiday season.

Batch no. 740

I have been sitting on this jar of fig and black tea jam for way too long. A billion years ago in September, I won a contest at the Willy Street Co-op and acquired a haul of local products, including this jar of Quince of Apple preserves.

To be honest, I forgot about it until I was inspired by the third installment of all whisked up! to make a recipe from this seasonal blog. There were lots of recipes on Liz’s blog that tempted me, including the beet butter, but I couldn’t resist the oat and jam bars. I eat oatmeal almost every morning and it’s the one thing that Half-moon will eat these days, too. The original recipe calls for cranberry sauce, but Dan remembered the fig jam and that was that. The thing I like about this recipe is that it’s not too fussy or too sweet (especially if you skip the glaze, like I did.)

IMG_5886

And I think it’s perfectly acceptable to eat these for breakfast along with a big cup of coffee. Happy almost March.

_____________________________________________

Oat and Jam Bars

From Inspired by the Seasons

1 c of cranberry sauce or your favorite jam heated to a spreadable consistency
1/2 c cold butter cubed into small pieces
1 3/4 c all purpose flour
1/4 tsp baking powder
3/4 c sugar
1 1/2 tsp vanilla extract
1 1/2 tsp molasses
2 large eggs
1 c rolled oats

Preheat oven to 350 degrees.  Line an 8″ baking dish with parchment paper to allow for easy removal of the cooked bars.

Work the butter into the flour with your fingers until it reaches a course crumb consistency.  Using a fork, stir in baking powder, sugar, vanilla and molasses. Mix in eggs and oatmeal.

Take 2/3rds of the dough and press to the bottom of your baking dish, using the greased bottom of a measuring cup to press the dough into place makes this step a lot easier.   Spread the jam in an even layer and top with remaining dough by dolloping with spoonfuls of the remaining dough.

Bake until golden, about 45 minutes.

__________________________________________________________

Click on the frog below to see all of the other Wisconsin Whisk all whisked up recipes!

All whisked up!

My friend Martha says that sometimes if you want something, you just need to put it out there to the universe and see what happens. This is how I felt one morning in August when I opened my computer to find an email request to do some freelance writing and an invitation from this woman to join a new collective of Wisconsin food bloggers called Wisconsin Whisk. With taking the year off of teaching, I knew I wanted to do more writing, but I needed some sort of a cosmic kick in the buns. And that morning I got it. Since then I have written several articles (including this one and this one), been mentioned in a Capital Times article highlighting Wisconsin Whisk, and was a guest judge at a vegan chili cook-off fundraiser for the Alliance for Animals.

And now I want to introduce you to Tara at Yummy Sprout and her farmer’s market biscuits. For a fun Wisconsin Whisk event (All Whisked Up!), we were assigned another blog to read and find a recipe to recreate. I knew as soon as I saw Tara’s biscuits that I was going to try those. If you read my blog regularly (thanks, immediate family), you know I’m not much of a baker, but these were super easy to make and taste delicious.

IMG_3921

I substituted jalapeno peppers from my garden, but otherwise made them just the same.

___________________________________________________________________

Cheddar and Jalapeno Biscuits

From the website Yummy Sprout

Ingredients:
1 1/2 cup flour (plus extra for dusting)
1/2 teaspoons organic sugar
1 teaspoon baking powder
1/4 teaspoon baking soda
1/2 teaspoon salt
3 1/2 tablespoons cold butter, cut into small chunks
1/2 cup plus 1 tablespoon milk
1 1/2 tsp apple cider vinegar
1 jalapeno pepper, chopped
1 cup cheddar (shredded)
Directions:
Preheat the oven to 425°F. Sift flour, sugar, baking powder, baking soda and salt into a medium bowl. If using a sifter you may need to push organic sugar through as it is a bit courser.  Next add the butter and use your fingers (if you have a pastry cutter you can use that too) to work butter into the flour until you have a course meal, with pieces no larger then pea size.  Add the vinegar to the milk and allow it to sit for a couple minutes, to make buttermilk.  Stir in most of the buttermilk (reserving about 1 tbsp), cheese and peppers, just until mixed.

Knead dough briefly on a lightly floured surface, just until it holds together. Coat a rolling pin with flour and roll out the dough to about 1/3 inch thick. Cut little biscuits out with any cookie cutters you like. Place biscuits on un-greased baking sheets. Brush the tops of biscuits with remaining buttermilk and bake until biscuits are golden, 10 minutes.   .
_________________________________________________________________
 Happy Friday.

Over the moon

Towards the beginning of June, I gave birth to a son. We’ll call him “Half-moon.” That is what I not-so-secretly wanted to name him. It came to me in the middle of a sleepless night- in addition to becoming my favorite yoga pose during pregnancy, I thought it would set him up for a career as a left-handed pitcher.

Meet Half-moon:

IMG_0604

Parenthood is a trip; my kid’s faces and noises are pretty much the most damn charming thing on earth. The cats couldn’t be more excited.

IMG_1198

I’ve gotten pretty good at doing things one-handed. Motherhood has also drastically altered my definition of a “productive” day. Now I get excited if I make a smoothie! Before noon! But today I really have something to brag about- as I type over the head of Half-moon, there is a raspberry crisp bubbling away in the oven. I was inspired by a recipe for a peach crisp in the July issue of Bon Appetit and the fact that there was a bowl of raspberries- picked over the weekend by Dan- sitting on the counter. I also added strawberries and cherries for good measure.

IMG_0071

I love crisps because there is a decent chance you have all of the ingredients if you decide to make one on a whim, and they are so impossibly easy- you could probably even do it one-handed.

_______________________________________

Iron-Skillet Raspberry Crisp

Adapted from Bon Appetit, July 2015

Topping
1 cup all-purpose flour
⅔ cup (packed) light brown sugar
½ teaspoon kosher salt
½ cup (1 stick) chilled unsalted butter, cut into pieces

Filling
1½ cups walnuts
2 tablespoons unsalted butter, room temperature
2¼ pounds fruit (I used raspberries, cherries and strawberries)
½ cup (packed) light brown sugar
¼ cup granulated sugar
3 tablespoons fresh lemon juice
½ teaspoon kosher salt

Directions:
Whisk flour, brown sugar, and salt in a medium bowl. Rub in butter with your fingers until clumps form and no dry spots remain.
Preheat oven to 350°. Toast walnuts on a rimmed baking sheet, tossing once, until slightly darkened in color, 8–10 minutes. Let cool, then coarsely chop.
Smear bottom and sides of a 10″ cast-iron skillet with butter. Toss walnuts, berries, brown sugar, granulated sugar, lemon juice, and salt in a large bowl to combine. Transfer to skillet and crumble topping, breaking up into large pieces, over filling.
Bake crisp until topping is golden brown and juices are thick and bubbling around the edges, 25–35 minutes.

_______________________________________

Eat with vanilla ice cream. Because it’s summer. And you deserve it.

IMG_0058

Welcome to the world, Half-moon. May it be always be filled with fresh-picked raspberries and kitties. Cheers.

A labor of love

A baker I am not. But every year, around Christmas time, I inevitably forget this fact and get the urge to create sweet things in the oven. This is actually the third year I have made this recipe and I usually curse it at some point or another every time, even though it is ridiculously easy. And the fun thing about this recipe is that afforded me not one, but two opportunites to bang things really hard with my rolling pin (I believe the first time was a fluke- I don’t anticipate you having to do the same thing.) It took me four days to actually make the cookies, from start to finish. I started the dough on Sunday right before entertaining some guests, which led me to abandon the dough for a day and a half in the fridge. Yesterday I rolled out the dough and used a small jar to form the cookies into circles. Before I could roll out the dough, however, I had to pound it into submission after having let it “chill” (harden into a rock) in the refrigerator for two days.

IMG_2955

Next I baked the cookies, let them cool, and then put them back into the stove so my butter-loving cats wouldn’t attack them when we left for a Christmas party last night. This afternoon, after Christmas Eve yoga and a brunch of baked eggs, I melted white chocolate in the oven, subsequently burned it, added milk to it, and then busted out the rolling pin again to crush the organic candy canes in my new dish towel.

IMG_2965

Somehow, these cookies survived. And I think that’s why I keep returning to this recipe. My version looks nothing like the original, but I love them just the same.

IMG_2974

In the spirit of that wise old saying- do as I say, not as I do- I am going to print the recipe the way that it appeared on Vegetarian Ventures. My adaptations- with the exception maybe of using all purpose whole wheat flour- are not recommended.

___________________________________________________________________

Peppermint Brown Butter Shortbread Cookies

From Vegetarian Ventures

  • 2 sticks of butter (1 cup), divided & at room temperature
  • 1/3 cup brown sugar
  • 1 1/2 cups all purpose flour
  • 1/2 teaspoon salt
  • 1 box of peppermint candy canes, unwrapped and crushed
  • 8 ounces of white chocolate

Start by browning half (one stick) of the butter. Place butter in a small saucepan over low heat and let cook until small brown flakes form. Stir often so the bubbles don’t bubble over the pan or so that it doesn’t burn. Once the butter has browned, immediately pour it into a glass cup and let cool completely.

Beat together the butter (browned and regular) and the brown sugar. Next, add in the flour and salt and continue to beat until a thick ball of dough forms. Wrap dough (with parchment, wax paper, etc) and let chill for at least 30 minutes (this will help keep the dough together).

Once chilled, transfer dough to a floured surface and roll out to about 1/2 inch thick. Use a biscuit cutter or the top of a round glass to cut out circular shapes. Transfer to a greased cookie sheet and repeat with the rest of the dough.

Preheat oven to 350 degrees and place the cookies in the fridge to chill for 10 minutes while the oven preheats (this will help the cookies keep their shape). Cook cookies for 15 minutes or until they are golden brown around edged. Let cool completely.

Crush the peppermint candy canes anyway you see fit. I put mine in a ziploc bag and went to town using a meat tenderizer (also known as the kitchen hammer!) until they were in tiny pieces.

Melt the white chocolate in either your microwave or over a double boiler. I don’t have a microwave so I used the double boiler method which consisted using one saucepan inside the other and letting water simmer under the first pot while I constantly stirred the white chocolate over it until melted (this was a terrible explanation. If it is your first time using a double boiler, use this as a reference). Once melted, dip half the cookie into the chocolate and then roll in the peppermint chunks. Place on wax paper (this prevents sticking) and repeat with the rest of the cookies. Let cookies chill in fridge for 15 minutes or until the chocolate has hardened.

_________________________________________________________________________

Merry Christmas, y’all.

Yellow rockdoor

One of my favorite things about working at the farm is learning the names of the varieties of vegetables. The green curly kale I knelt next to early this morning is named winter boar. The snow peas- since mowed down- were called blizzard and sumo. The garlic we dug out on Wednesday is music and porcelain, and a midnight purple tomato hanging on her vine goes by indigo rose; she could just as easily be in a dusty bar somewhere listening to Merle Haggard on the jukebox. We pull three varieties of beans- maxibell, yellow rockdoor and dragon tongues. Even the weeds sound like a poem to me- purslane, pigweed, foxtail and thistles.

IMG_2187

I am drawn to words. Recently Dan and I biked to the construction zone that used to be Johnson Street to visit the impossibly too-cool-for-school Johnson Public House because I wanted to try a cold espresso beverage they were calling lavendar brown.

IMG_2181

It was tasty. Dan thought it resembled Thanksgiving dinner in a next day’s sandwich. I also recently visited Spring Green’s Sh*tty Barn to listen to a band called Spirit Family Reunion- I had never heard of them, but I liked their name.

IMG_2067

Later that night I ripped that sold-out poster down (with permission) to hang up in what will become my new home. I had seen the house earlier that day and stood in a field on my phone before the show with my realtor (ugh. I think this makes me a grown-up) as we made plans to sharpen our figurative pencils and make an offer the next morning. And to my still somewhat disbelief, the offer took.

IMG_2060

And while I contemplate home ownership, I cook. I turn back to soothing tomatillos and avocados whirled into salsa varde, eggplants roasted and blended with lemon juice, flat-leaf parsley and tahini to become baba ganoush, and I improvise a hearty tabbouleh salad with spelt berries. I bake zucchini bread. And I steam yellow rockdoor beans and cover them with pats of butter and sea salt. Someone else was drawn to those.

IMG_2116

My mom gave me this recipe for zucchini bread- I’m not sure where she got it. She says she likes to eat it with peaches. I like to eat it cold out of the refrigerator.

__________________________________________________________

Zucchini Bread

Combine:
1 cup oil
2 cups sugar
3 teaspoons vanilla
3 eggs

Add:
3 cups flour
1 teaspoon baking soda
1/4 teaspoon baking powder
1 teaspoon salt (optional)
1 teaspoon cinnamon
2 cups grated zucchini
1/2 cup nuts- walnuts or your choice

Makes 2 regular loaves in a loaf pan- metal or glass. Bake 350 degrees for one hour or when it smells good and is getting brown on top. Let it cool a bit before you take out of the pans. I usually grease the pans with a little oil.
__________________________________________________________

Happy August.

Grapefruit tart in motion

Friday night I was in bed at 10:30. Instead of going out to listen to music and guzzle beer last night, I decided to stay home and assemble a tart. ASSEMBLE A TART. I then asked a friend if he could meet for coffee next weekend. I am having a serious “St. Elmo’s Fire” moment. But I have been dreaming of this tart since I first read about it a month ago. And last weekend while in Bayfield- after narrowly losing out by only 17 minutes in a foot race across Lake Superior to Madeline Island and back to this dog-

IMG_0960

I finally found a bag of rye flour as I celebrated my victory over Cody the corgi with a carrot cake cupcake at Coco in Washburn. 

IMG_0956

IMG_0995

In addition to making sandwiches (many vegetarian!), breads and desserts, Coco sells rye and whole wheat flour- ground just down the road at Maple Hill Farm.

IMG_1004

So last night I rolled out the crust, separated six yolks from their whites, cursed the curd for not thickening, swore at the crust for collapsing in the oven and fell asleep on the couch watching a 1970 Led Zeppelin concert (Animal from The Muppets must be based on John Bonham) while the tart chilled in the fridge.

And so it became a breakfast tart, enjoyed with coffee for brunch dessert on this slate gray Sunday.

IMG_4395

And for my first tart, it wasn’t bad. I think I like the idea of it even more than I liked eating it, but sometimes that is all that matters. There are worse things than daydreaming of citrus and rye, aprons covered in flour and wooden rolling pins. And staying home on a Saturday night.

Enjoy the extra hour of light, my friends, rainy as it may be.

Stout: It’s not just for brunch anymore

Back in December when the skies were thundering with snow and the Packers still had a chance at a championship, I fell into an abyss of stout beer. It all started with the Narwhal from Sierra Nevada.

IMG_4037

Dan brought home a four pack of this turbidly decadent beer to celebrate the recording of his latest album, Small Batch (to be released in April!), and there was no looking back.

Next came Breakfast Beer, an oatmeal stout from the folks at One Barrel Brewing Company. And then the nostalgically 80s-named Care Bear Stout. Goblets of this dark, sweet beer have me visiting this bar most Saturdays (and some Thursdays). I love these guys- not only is their beer delicious and brewed locally, they donate money to the Humane Society and declare “Go Pack” on their chalkboard the day of the Super Bowl even though Green Bay lost in the second round of the playoffs.

IMG_4043

Stouts swirled around me into January and February. There was Luna Coffee Stout from Hinterland served with a post-skiing brunch, Colorado’s Left Hand Milk Stout, Lake Louie’s Mr. Mephisto’s Imperial Stout and last weekend in Milwaukee, after a trip to the art museum to visit a photography exhibit- where I found out no cameras were allowed- I discovered Central Waters’ Peruvian Morning Imperial Stout at Sugar Maple in the Bayview neighborhood. Holy hell. That is one beer.*

IMG_4293

And somewhere in that stout blizzard I found this recipe for boozy stout brownies. The original recipe is vegan but I de-veganized it (mainly because two of my favorite people in the world- my mom and Dan- threatened to stop cooking for me and break up with me, respectively, if I went vegan and I didn’t want to give either of them the wrong idea.) I also doubled the amount of stout. I kind of thought the brownies would taste a little more like beer, but they were deliciously chocolatey and gooey. And who doesn’t love baking with beer?

__________________________________________

Lake Louie Milk Stout Brownies

De-veganized from Vegetarian Ventures by way of Chickpea Magazine

  • 1 cup flour
  • 3/4 cup dark cocoa powder
  • 1/2 teaspoon salt
  • 1/3 cup canola or coconut oil
  • 1 1/4 cup brown sugar
  • 1 teaspoon vanilla extract
  • 1/2 cup soy yogurt
  • 1/2 1 cup stout beer (I used Lake Louie Milk Stout)
  • 1/2 cup vegan chocolate chips

Preheat oven to 325 degrees and line a 8×8 pan with parchment paper.

In a large mixing bowl, combine the flour, salt, and cocoa powder. In another bowl, combine the brown sugar, oil, yogurt, and beer. Make a well in the center of the dried ingredients and add in the wet ingredients. Fold dry into wet until a thick batter has formed. Lastly, fold in the chocolate chips.

Pour mixture into prepared pan and cook for 30 minutes or until the center has set.

Let cool slightly and serve warm!

___________________________________________

It’s up to you if guzzle a goblet of stout on the side. I chose a jar of milk. (Cow milk, mom, not that crazy hemp milk. No way.)

Happy baking.

*If I attempt to write about beer again, I promise to read some beer reviews- I have no idea how one reviews beer.

May Day

I love May. The magnolia trees are blossoming, summer is on its way and my birthday is in a couple of weeks.

When I woke up Sunday morning I looked outside, saw the sunshine and decided that I wanted to make dinner for some friends whom I hadn’t seen awhile. They said yes. I love improptu, Sunday night dinner parties. A couple of weeks ago when I was in Seattle (it feels like a lifetime ago already) I got to meet one of my writing idols, Ms Molly Wizenberg. I will save the details for a future post, but it was a magical moment that left me buzzing for awhile. In honor of this encounter, I decided to make a meal from her book, A Homeade Life.

There is this French yogurt cake that I had been wanting to make (and when I re-read the description on Sunday afternoon Molly wrote that it is the sort of cake that French grandmothers make on Sunday afternoons. Well, perfect…) and I flipped through the index for a main entree. A spring salad caught my eye. Radishes, check. Cilantro, check. Feta cheese, check. Molly mentioned that she likes to serve this as a light dinner along with a hunk of bread or roasted potatoes. Done.

May Day Dinner Party

First course: White wine, beer, green olives, crackers

Main course: Sliced spring salad with avocado and feta (pages 246-247), Bellingham roasted potatoes (look for this recipe tomorrow), wholewheat sourdough bread, beer

Dessert: French-style yogurt cake with lemon (pages 204-205)

_________________________________________________

French-style Yogurt Cake with Lemon

From A Homeade Life, by Molly Wizenberg

For the cake:

1 1/2 cups unbleached all-purpose flour

2 teaspoons baking powder

pinch of salt

2 teaspoons grated lemon zest

1/2 cup well-stirred plain whole-milk yogurt

1 cup sugar

3 large eggs

1/2 cup vegetable oil, such as canola

For the syrup:

1/4 cup powered sugar, sifted

1/4 lemon juice

For the icing:

1 cup powdered sugar, sifted

3 tablespoons lemon juice

Preheat the oven to 350 degrees Fahrenheit.

In a large bowl, combine the yogurt, sugar, and eggs, stirring until well blended. Add the flour, baking powder, and zest, mixing to just combine. Add the oil and stir to incorporate. At first, it will look like a horrible, oily mess, but keep stirring, and it will come together into a smooth batter. Pour and scrape the batter into a buttered 9-inch round cake pan (after buttering, I sometimes line the bottom with a round of wax or parchment paper, and then I butter that too).

Bake for 30-35 minutes, until the cake feels springy to the touch and a toothpick or cake tester inserted into the center comes out clean. Do not overbake.

Cool cake on a rack for about 20 minutes; then turn it out of the pan. Combine the syrup ingedients in a small bowl and spoon it gently over the warm cake. The glaze will be thin and will soak in like a syrup. Cool completely.

Combine the icing ingredients. Whisk well to dissolve the sugar completely. Spoon the icing over the cooled cake.

Serve immediately- the icing will be soft and a bit juicy- or wait until the icing has firmed up, about 1 hour. Whichever way you like.

____________________________________________

Happy May.